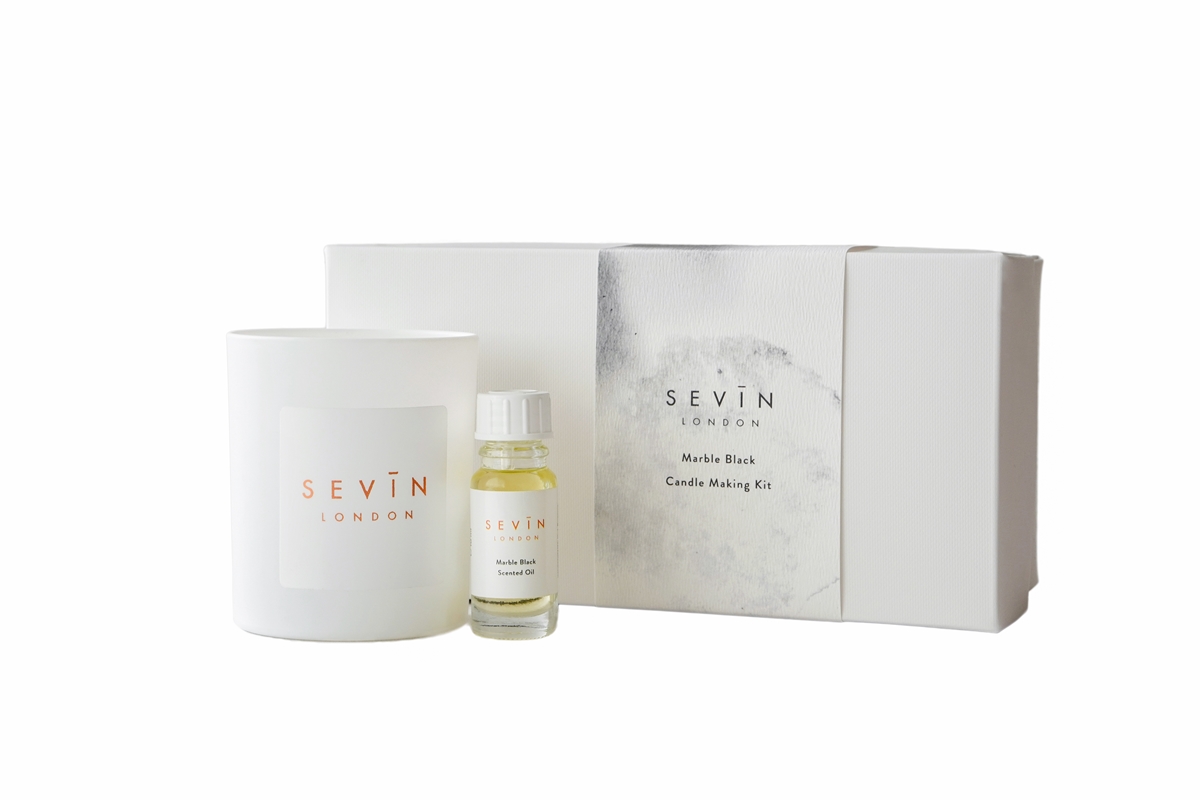
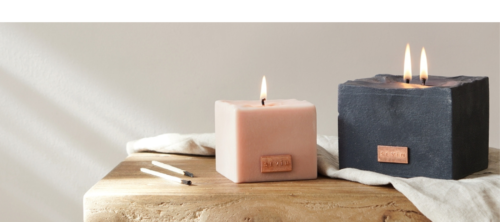
We are delighted to add two candle making kits to our range. Candle making is one of my favorite wind down activities so I thought I should write a how-to guide for those of you joining me.
Marble Black and Porcelain White kits make the perfect gift for anyone who loves getting creative. Beautifully presented in our eco-friendly box, you will receive all the ingredients you need to make your own natural soy candle.
Included in the candle making kit :
- Matt White Glass Jar
- Pre-measured 100% Eco Soy Wax – 40/45 hours burning time
- Essential fragrance oil – Marble Black or Porcelain White
- Pre – waxed cotton wick
- Metal Wick Sustainer
- Metal Wick Pin
- Adhesive Wick Pad
You will also need :
- Aluminium Jug – to blend and pour the wax
- Bain Marie – you could alternatively use a pan and create double boiler
- Thermometer – for measuring temperature of the wax
Step 1: Prepare the Work Space
Dealing with wax is a rather messy affair. Especially as it melts, droplets can get anywhere and everywhere, and you won’t even know it until the wax dries. Set up newspaper or paper towels around your work area. Use those to set your thermometer, spatula, etc. on;
Step 2: Melt the Wax
You can melt the soy wax on the oven hob really easily by adding a metal jug holding your wax to a pan filled with water.This creates a bain marie and is a similar process as melting cooking chocolate.
Add the wax to the pot/double boiler and start melting slowly on a mid heat on your hob. You will need to heat the wax until it is in liquid form (up to about 65-70 degrees celsius), then remove it from the heat at this temperature.
Step 3: Blend the wax and fragrance
The ratio of oil to wax should be no more than 8 – 9 %, depending on the wax and fragrance oil you use it can be lower – in this kit it is premeasured 8%. Once the oil is 70 degrees celsius, remove from the heat, add the fragrance oil and stir slowly until they blend nicely. You then need to allow the blended wax to cool to around 60 degrees before pouring into the jar/vessel.
Step 4: Prepare the jar
Next step is to prepare the jar while the wax is cooling. When wicking the jar always ensure there are no cracks and that it is clean and dry. Wick the jar using your wick and adhesive wick sticker pads. Always make sure the wick is centred. Once the wick is fixed, use your wick pin to fix the wick
Step 5: Pour the candle
When pouring remember to leave space of 1/4 from the top for the trimmed wick. Once poured, keep the wick in place by fixing with a peg. Leave the candle to cool in a dry place, ideally overnight and then after this time you can remove the peg and trim the wick in line with the top of your jar.
A little tip: If you leave your candle to cure for a week before burning, you will get a better scent throw….
I hope you enjoy the journey and the result as well. If you need help or would like to share your fabolous output, feel free to reach out to me anytime.
Sevin
X